Notion is a popular collaboration platform that allows you to create content for your community and have it instantly available as a web page. Previously you had two options for your content: public or private; this tutorial makes a paywall out of your Notion content, bringing members-only viewing to your Notion team.
In this tutorial we use the Unlock Protocol to gate your public or private Notion content to create members only sections. These gated Notion sections are paywalled using the Monetized content gating platform which supports both Unlock and Notion, allowing you to generate revenue with no-coding required.
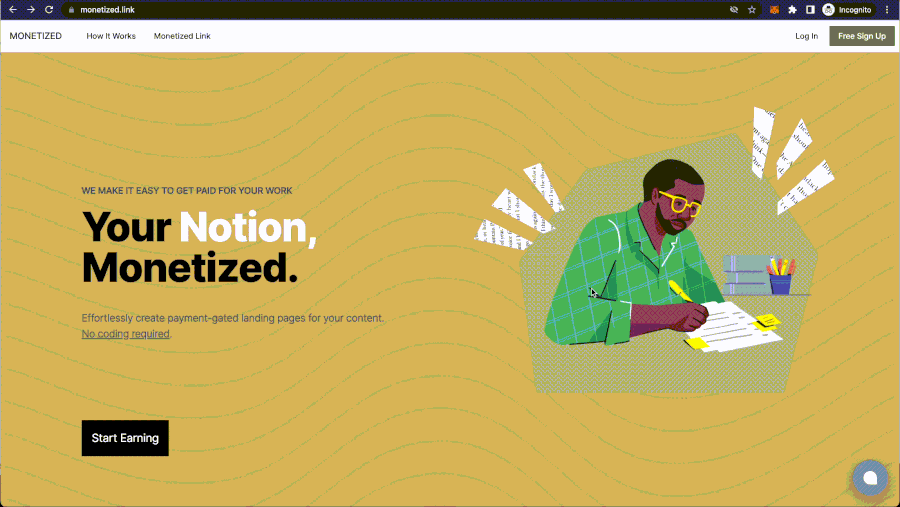
To get started, head over to Monetized.Link and click login in the top right. No previous account is required, this will send you a magic link email.
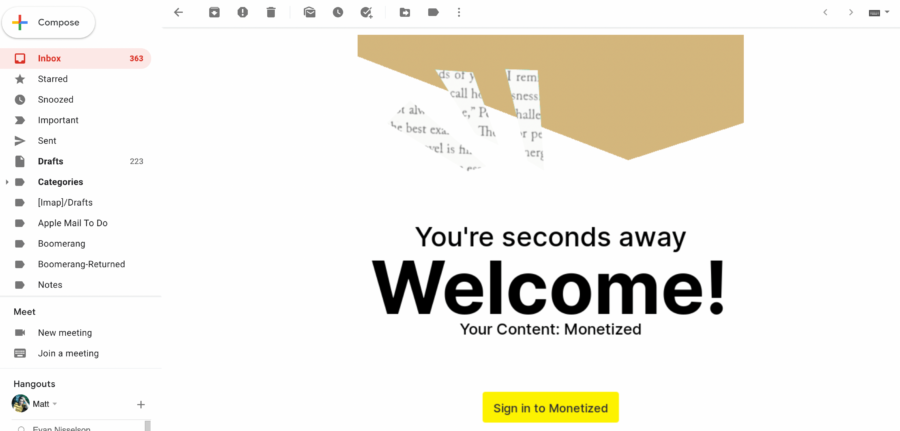
Check your email
The magic login email from monetized.link is a one-time email that you can use to login to Monetized. Click the “Sign in to Monetized” button in the email.
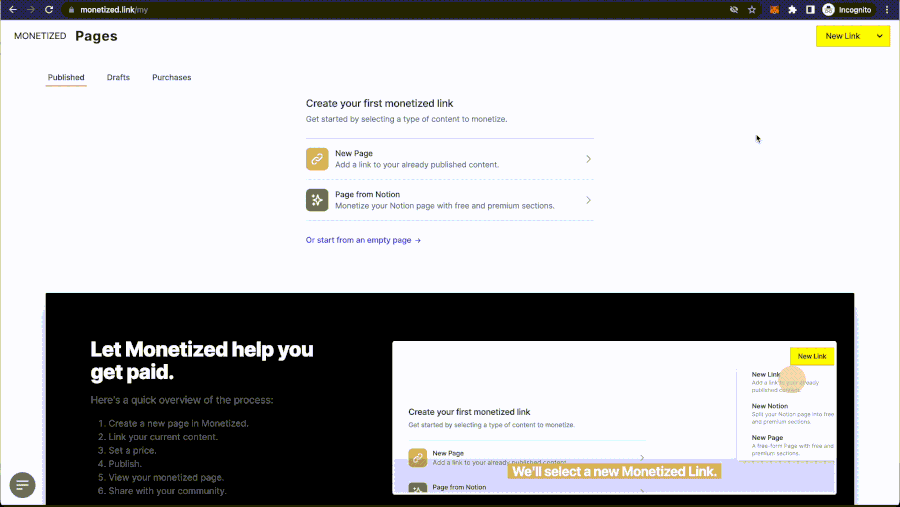
Create New Notion Page
From the Monetized Dashboard you can create a new page by clicking on the action button in the top right and selecting “New Notion Page”.
This will open up the Monetized editor where you can set various page options.
Adding a Token Gate or Paywall to Notion
Add a “Payline” to your Notion Post
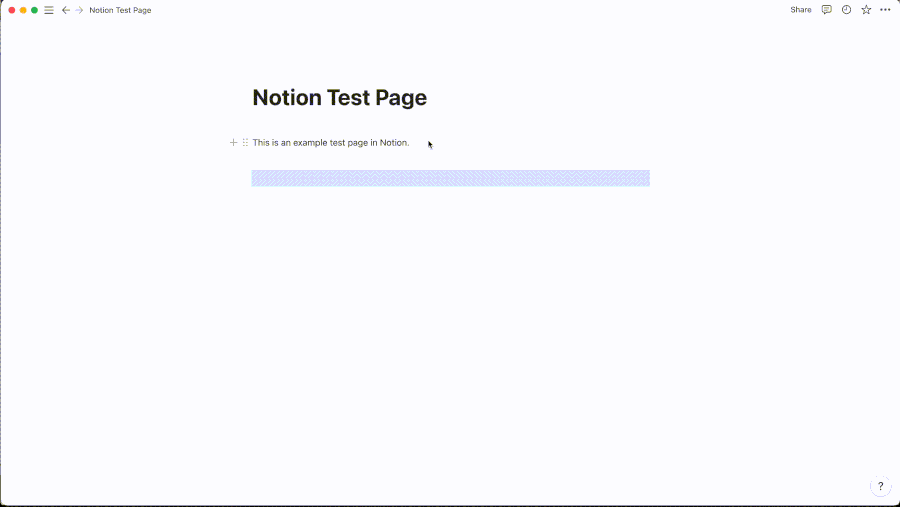
Next we’re going to add a special integration block to Notion to signify which parts of your Notion page should be made premium, and which should be available for preview.
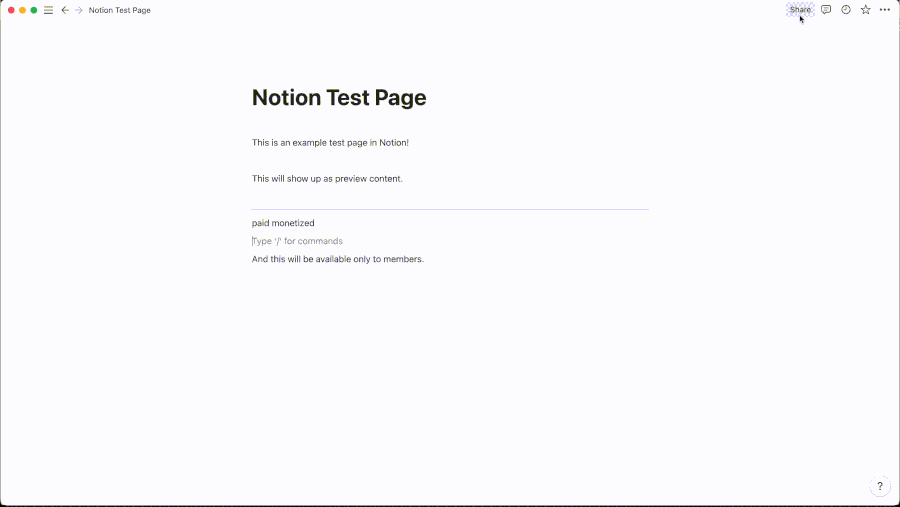
Switch over to your Notion post. Then decide what part of the page you want to be a preview, and which should be premium. It’s recommended to tell your members what they get for purchasing and give them a bit of an idea about the content.
Once you have an idea about the content, create a line to demarcate the Preview and Premium sections. This can be done by typing the dash key (“-”) several times until Notion automatically inserts a divider, or by using the slash command “divider”.
Below the divider we’ll tell Monetized which kind of Payline it is. For now, let’s use the standard “paid monetized” syntax, as below:
paid monetized
Add a Notion Link to the Monetized Editor
Next we’re going to get the link to the post. In Notion, at the top right click on the “Share” button, then at the bottom of this window, click “Copy Link”. This is the Notion link address.
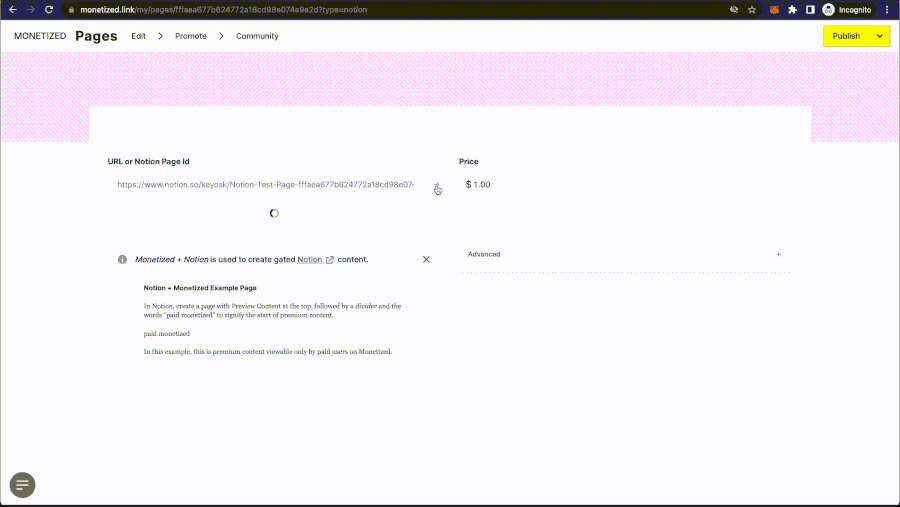
Switch over to the Monetized post you created, and paste in the link, the click the arrow button next to the input box (→).
Authorize Monetized + Notion OAuth
Since this is the first time you’ve setup Notion + Monetized, you’ll be asked by Notion to give permission to Monetized to view your post. When granting permission you can grant access to a folder or specific page. (Don’t worry you can change this later in the Share box if you want to add more.) Note that you’ll only setup the integration once, so if you’ve already done this step skip ahead.
Associate a Lock with your Notion Page
Once Monetized has loaded the Notion page, it’s time to configure Unlock to use the lock of your choice. If you know your lock’s contract id, you can change the Payline syntax to use unlock:
(Note the space between the lock address and the network ID.)
If you don’t yet have a lock, or don’t remember your Lock address, click Advanced within Monetized, then Configure to bring up an Unlock configuration panel.
Finding or Creating Unlock Locks from Monetized
After clicking Advanced → Unlock Protocol → Configure, the Unlock Panel will open. From here you can create a lock, or connect a wallet to find ones that are already created.
This step will require a Web3 compatible wallet, like Metamask. After connecting the wallet, you will be able to create a new lock. After closing out of the panel, your selected lock address will show in Monetized. You can use this address within Notion’s Payline (If you’ve configured using the “paid unlock” syntax) or if you’re using the “paid monetized” Payline syntax this will be done automatically for you.
Publish Your Monetized Page
Once you’re satisfied with the lock, it’s now time to publish the page by clicking the publish button in the top right. Share this “Monetized Link” with your members and they’ll be able to purchase your token-gated content via Unlock.
Email Addresses
When your members purchase your Notion pages via Monetized and Unlock, we’ll ask for their email address so you can contact them in the future. This information is optional and the member can choose to not enter it (they’ll still be able to view the content). You can view members that have purchased in the “Community” tab inside of Monetized.
Using a Lock on more than one Page
Can you use a lock on more than one page? Yes, a lock can be re-used as required. You can also choose to create one lock for every Notion page. The lock prices and types (including payment via ERC-20 tokens) are up to you.