This guide shows you how you can use the powerful hook mechanism to password-protect your lock so that only users who know the password can purchase memberships from your contract.
By
Julien Genestoux
| Published
September 15, 2022
| Updated April 6, 2024
This guide shows you how you can use the powerful hook mechanism to password-protect your lock so that only users who know the password can purchase memberships from your contract.
Passwords can be used for memberships that are purchasable onchain.
Each membership or subscription can have multiple passwords associated with it, and you can set the number of times a particular password can be used before it is no longer valid.
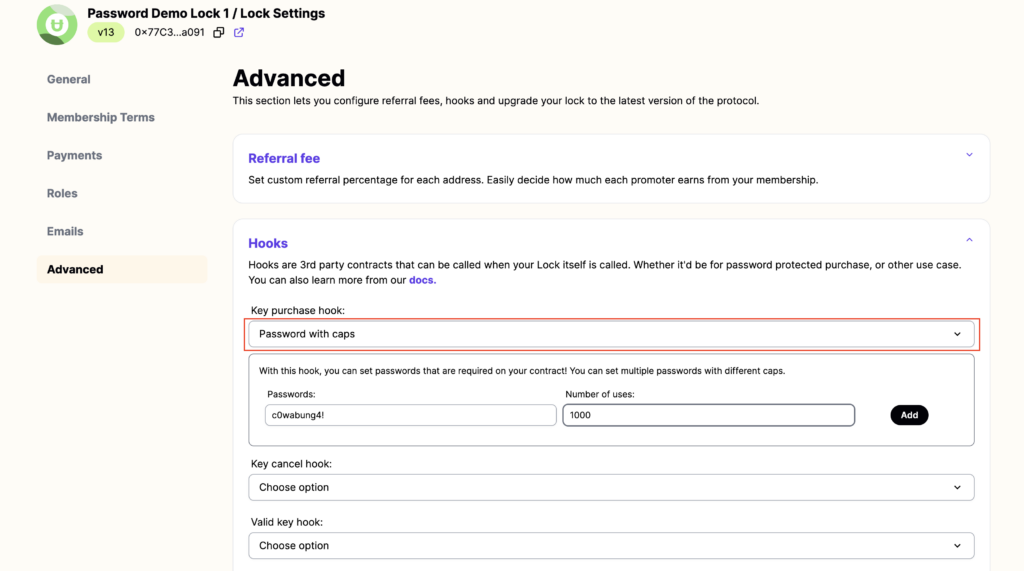
For this example, the password is c0wabung4!.
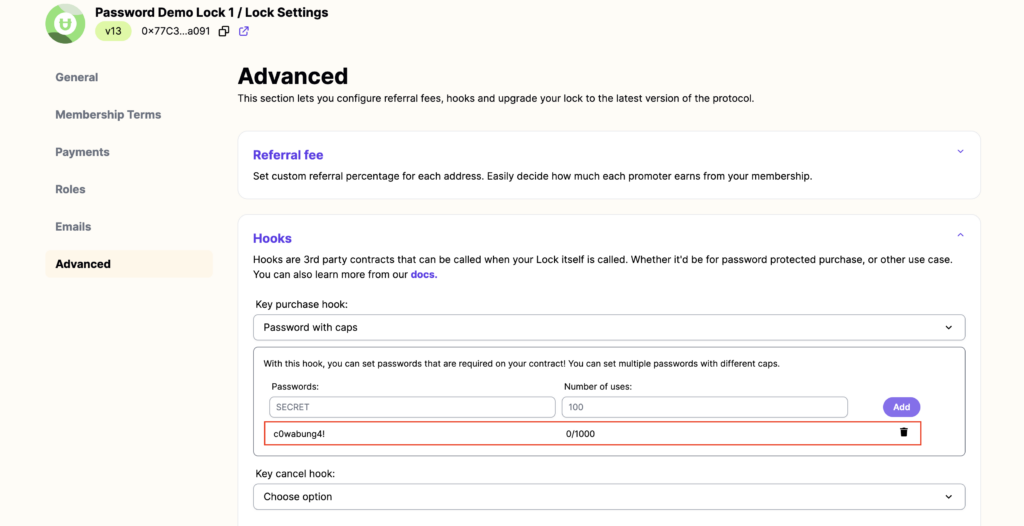
How to add a password to your membership
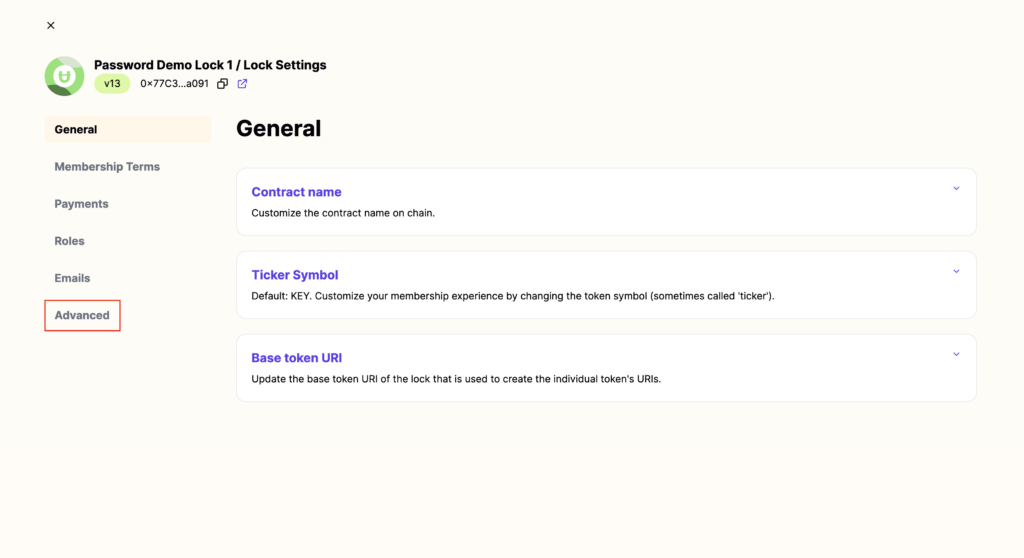
You can set a password through the Unlock dashboard.
Go to “Settings > Advanced” and click through.
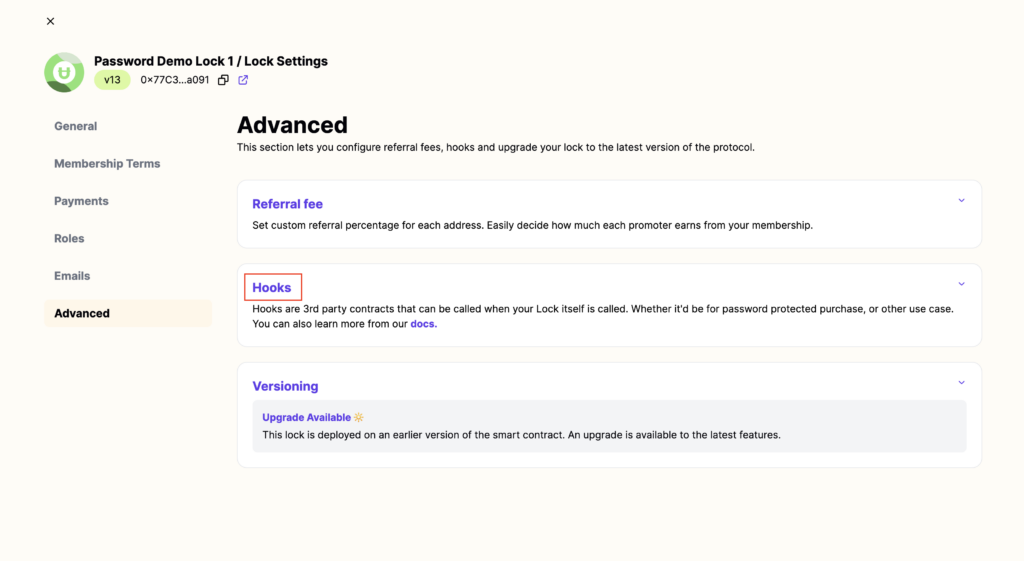
Passwords are a type of “Hook” that extends the base functionality of an Unlock Protocol smart contract. Go to “Hooks > Key Purchase Hook” and choose the “Password” hook.
Note: Each lock can have a maximum of one of each type of hook active at any given time.
Set the password, and the number of uses you want to “cap” that password at.
If you don’t want to set a usage cap for a particular password, you can set the “Number of uses” to a very large number.
Once your password is set, click “Add” and sign the transaction. The password will now be enabled for your lock.
You may want to set multiple passwords for a lock, in the case where you have different parts of your community for which you want to have differing passwords with differing usage caps. (For example, an event organizer may want to distribute different passwords to different sponsorship partners.)
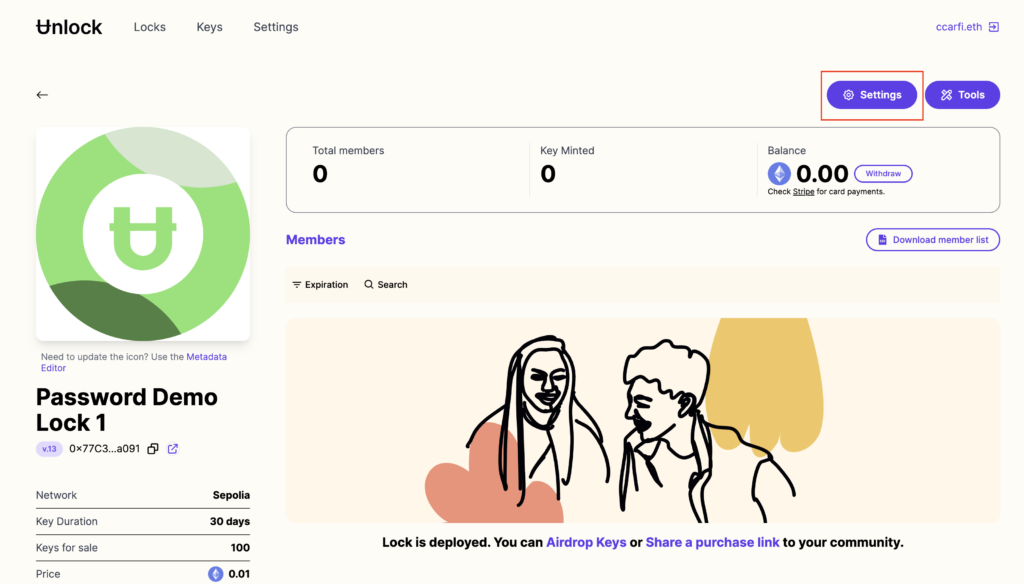
In order to follow this guide, please start by deploying your lock. Additionally, please make sure you verify the lock’s contract using the block explorer so you can easily interact with it!