WordPress Memberships with Paid Memberships Pro and Unlock Protocol
By
Christopher Carfi
| Published
September 22, 2022
| Updated March 12, 2023
Paid Memberships Pro is one of the leading membership plugins for WordPress, with over 100,000 installs. Paid Memberships Pro (PMPro) can be extended by installing add-ons, which expand PMPro’s functionality in a number of ways. There are a wide variety of add-ons available for PMPro.
The Paid Memberships Pro team has created an Unlock Protocol Add On for PMPro that integrates Unlock Protocol’s web3-native membership management capabilities. By installing the Paid Memberships Pro WordPress plugin and the Unlock Protocol Add On, designers, developers, creators, and entrepreneurs in the WordPress ecosystem can combine the richness of PMPro’s membership management capabilities with the power of web3-based memberships using Unlock Protocol.
This guide will highlight the Unlock Protocol Add On for Paid Memberships Pro. For a more detailed set of guides and tutorials for core PMPro functionality, setup, and configuration, please check out the Paid Memberships Pro Step-by-Step Guides on their website.
Using the PMPro plugin and Unlock Protocol Add On, membership content can be token-gated within WordPress by categories, tags, pages, and posts.
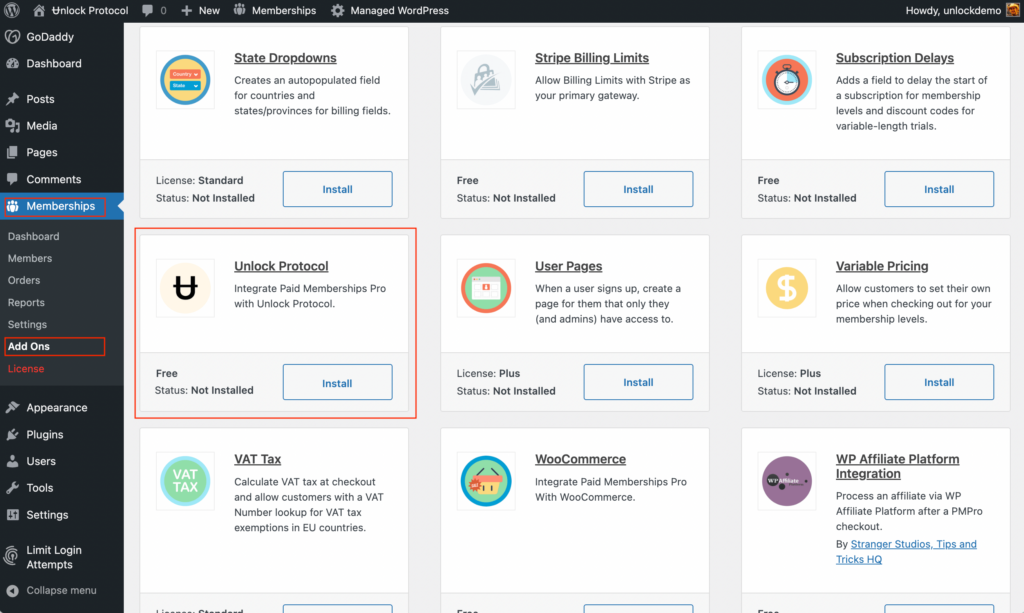
Installing the Unlock Protocol Add On
After you’ve installed the Paid Memberships Pro plugin, install the Unlock Protocol Add On. Go to the Settings sidebar in the WordPress admin and install and activate the Unlock Protocol Add On.
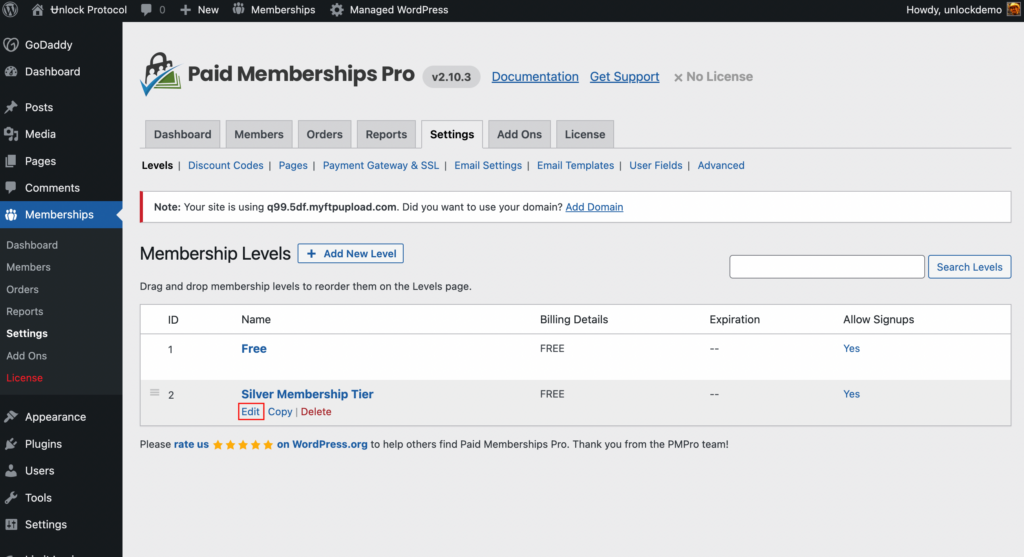
Go into the “Edit” settings for the level you want to be associated with an Unlock membership. You may need to set up a level first; please refer to PMPro’s documentation on how to do this.
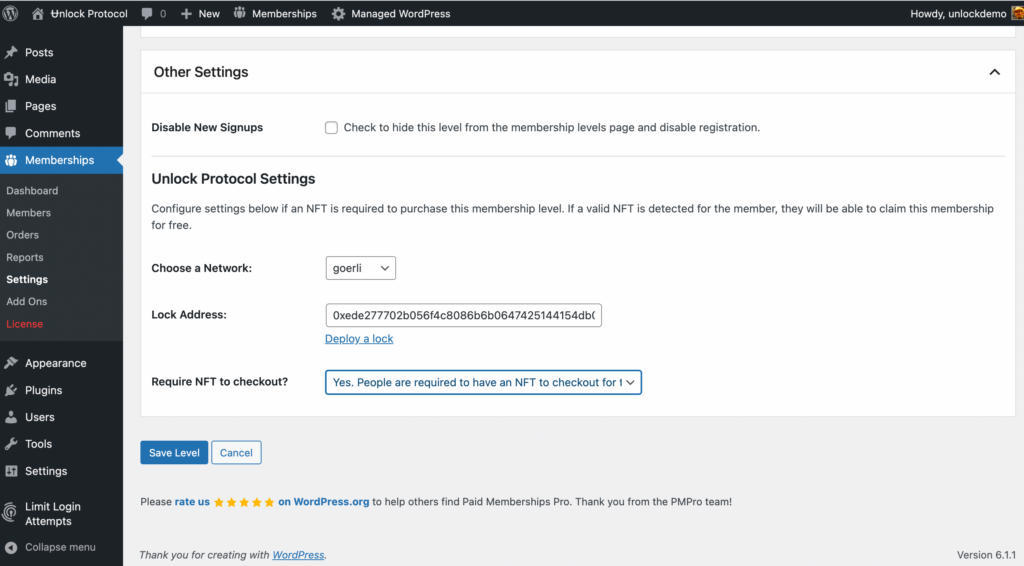
Scroll to the “Other Settings” section of the settings for that level in PMPro and add in the network and lock address for the membership smart contract. PMPro’s documentation on this section can be found on the Unlock Protocol Add On page.
At this point, you have configured the PMPro membership to recognize and require Unlock Protocol memberships to access members-only, token-gated content. Congrats!
How members purchase or claim their memberships
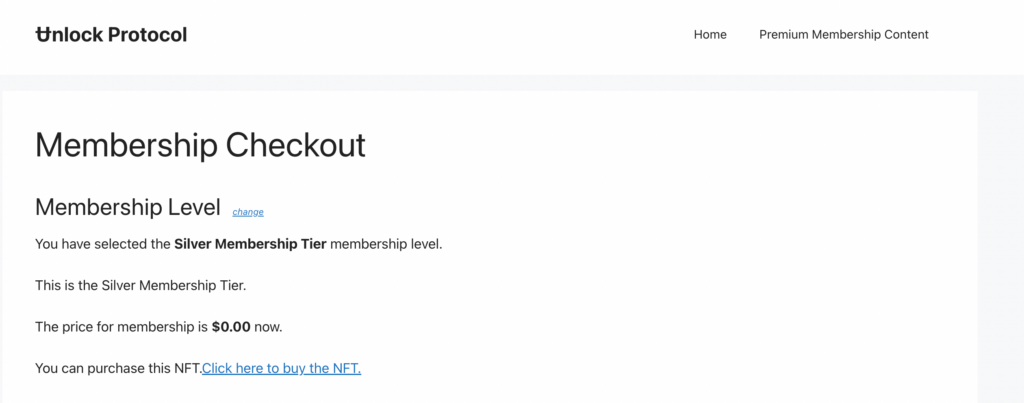
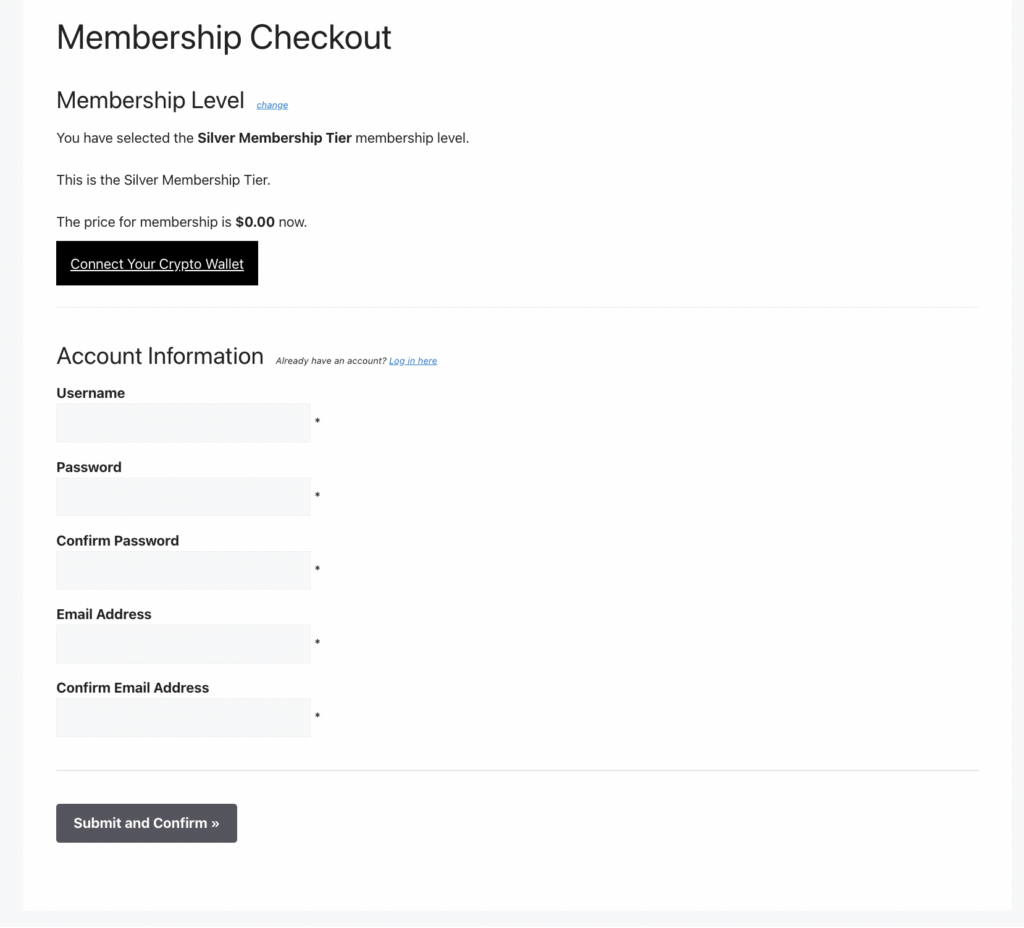
When a site visitor lands on a members-only page, they’ll be prompted to purchase (or claim) a membership.
After a site visitor purchases or claims the membership NFT (or if they possess it through other means, such as an airdrop), they will then be prompted to connect their wallet to the site and to create an account for the WordPress site.
In the current Paid Membership Pro implementation, the user needs to create a WordPress login that will map to the level of membership the member has.
Associating a visitor’s wallet address with their WordPress login
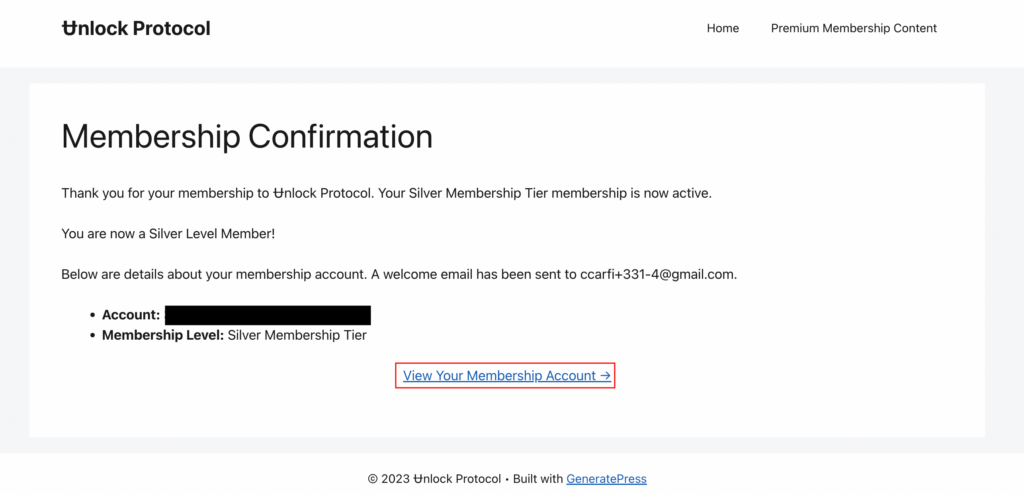
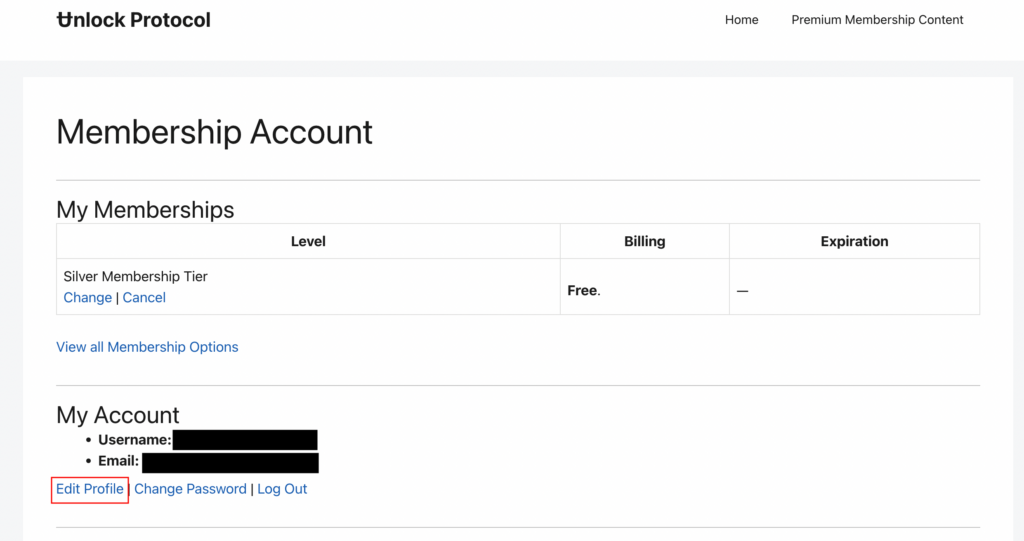
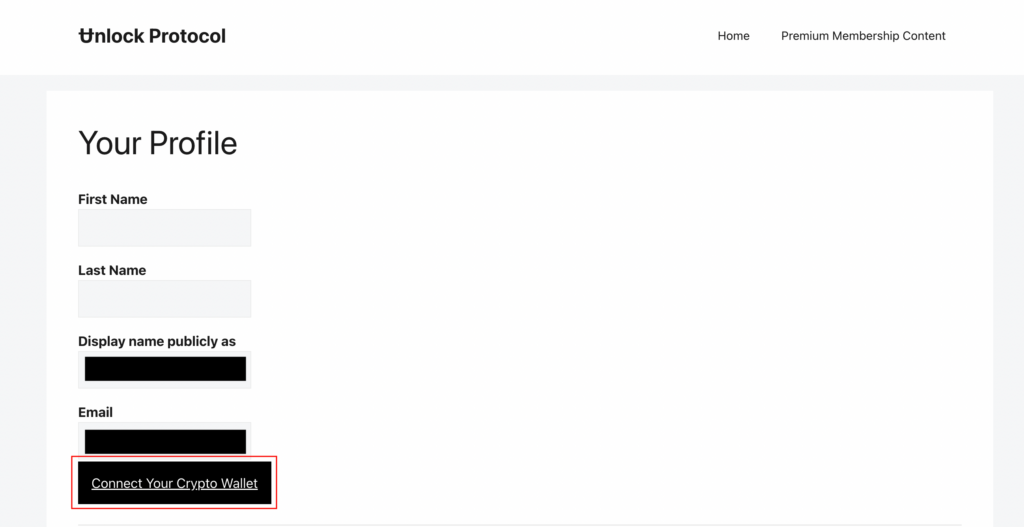
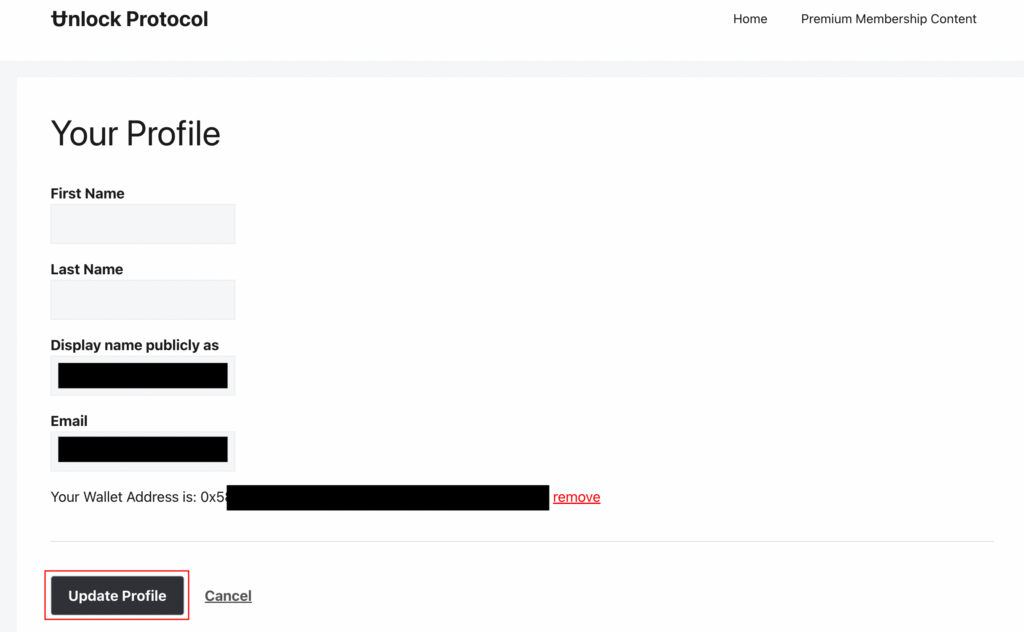
Once the visitor has created their WordPress account, they’ll need to associate their wallet with their WordPress account if they want to be able to log in with their crypto wallet. (They can log in with their WordPress site credentials as well.) To associate their wallet with the WordPress site account, they’ll need to click on the “View Your Membership Account” link, edit their profile, and associate their wallet with their account.
After going through these steps, the member will be able to log in with their crypto wallet, as it will be associated with their WordPress site account. Once logged in, the member will have access to the site content that is associated with their particular membership level.