Unlock Protocol has revolutionized the way certifications and credentials are issued and managed. This powerful, on-chain system enables you to create customizable and secure certifications, easily shared and verified by anyone. In this step-by-step guide, we’ll walk you through creating your own certifications and credentials using Unlock Protocol.
Connect your wallet
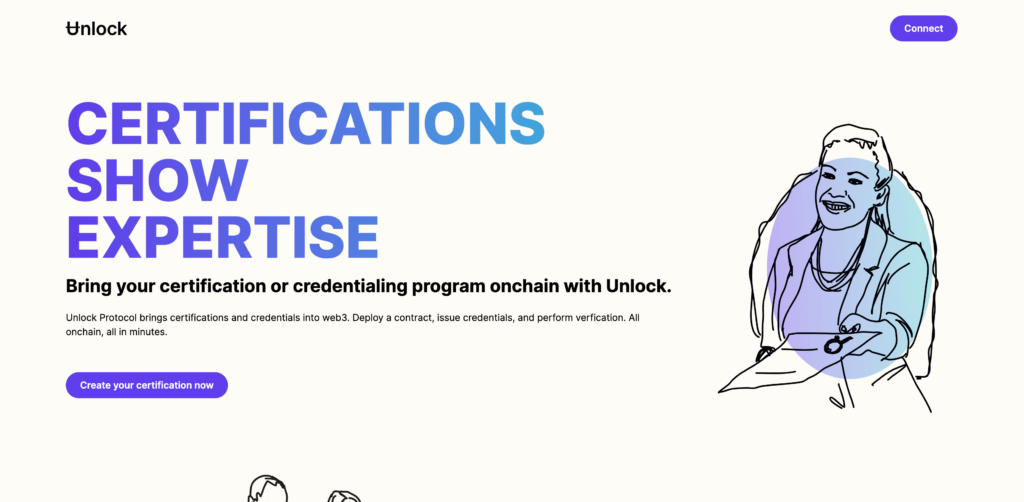
Visit the Certifications by Unlock landing page and connect your wallet. You’ll be prompted to sign a message to verify ownership of the wallet address. Once verified, you’ll be taken to the “Create Certification” page.
Input certification details
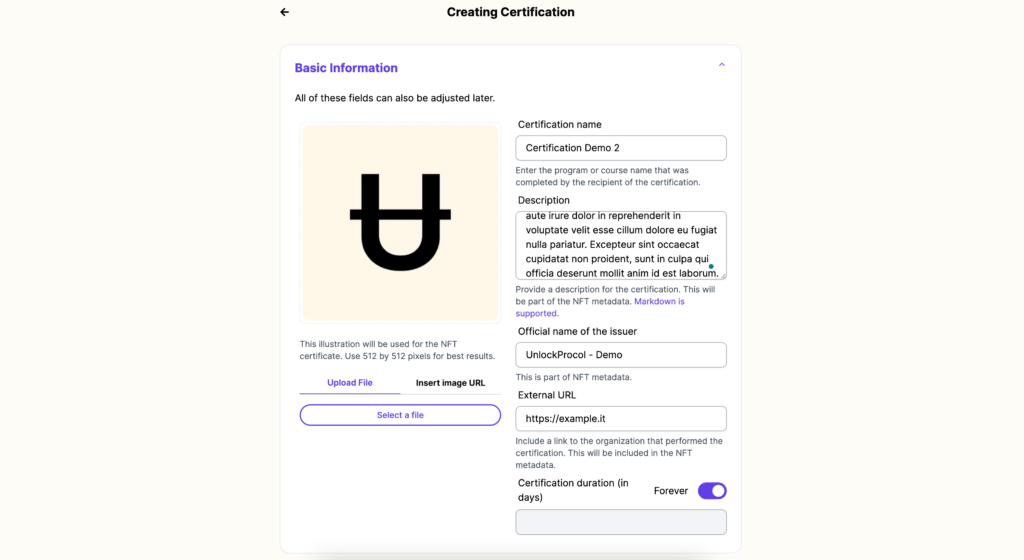
Here, you can customize your certification by providing the following details:
- Image: Upload an image that represents the certification.
- Name: Give your certification a name.
- Description: Provide a brief description of the certification.
- Issuer: Specify the name of the organization or business issuing the certification.
- External URL (optional): Include a URL for the organization or business issuing the certification.
These details will be stored as metadata on-chain.
Set certification options
Next, choose from the following options:
- Expiration date: Select whether the certification lasts forever or has an expiration date. Expiration dates are useful for licenses that need to be renewed.
- Purchase Price: Decide if the certification can be purchased. If so, set the token and amount required for purchase. You can also make the certification free.
- Quantity limit: Set a limit on the number of available certifications.
Choose your network
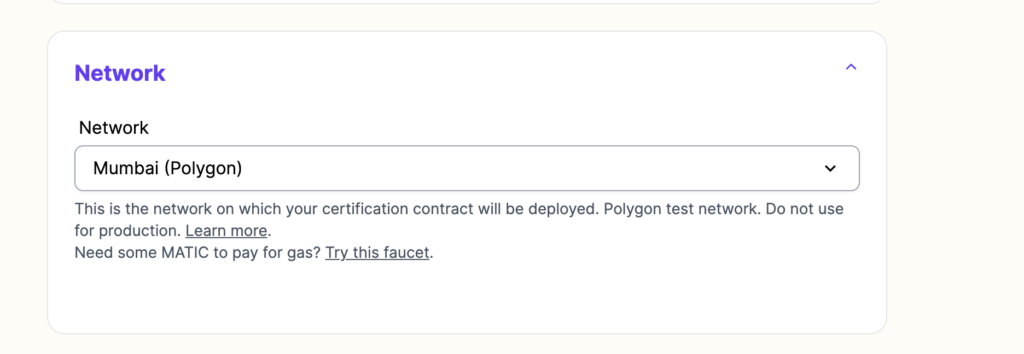
Select the network on which the certification will be deployed. Ethereum is usually the default option, but due to high gas costs, other compatible networks such as Optimism, Polygon, and Arbitrum are recommended. In this example, we’ll use the Mumbai testnet on Polygon.
Deploy your certification
After filling in the required information and choosing your network, click “Deploy.” Verify the gas cost and wait for the deployment to complete. This may take anywhere from a minute to a few minutes, depending on the network and its load.
Make certifications non-transferable
Once the certification is live, make the tokens non-transferable, or “soul-bound.” This ensures that the certification remains tied to the recipient’s address and cannot be sold or transferred.
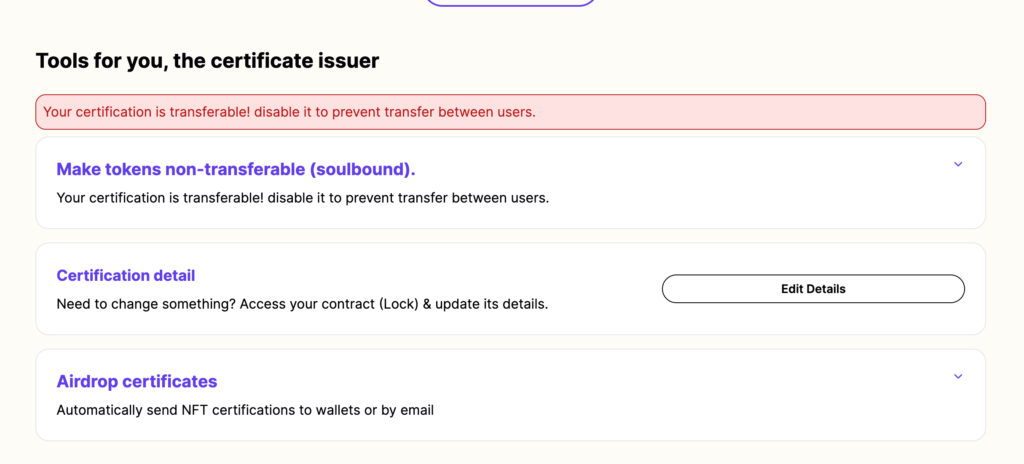
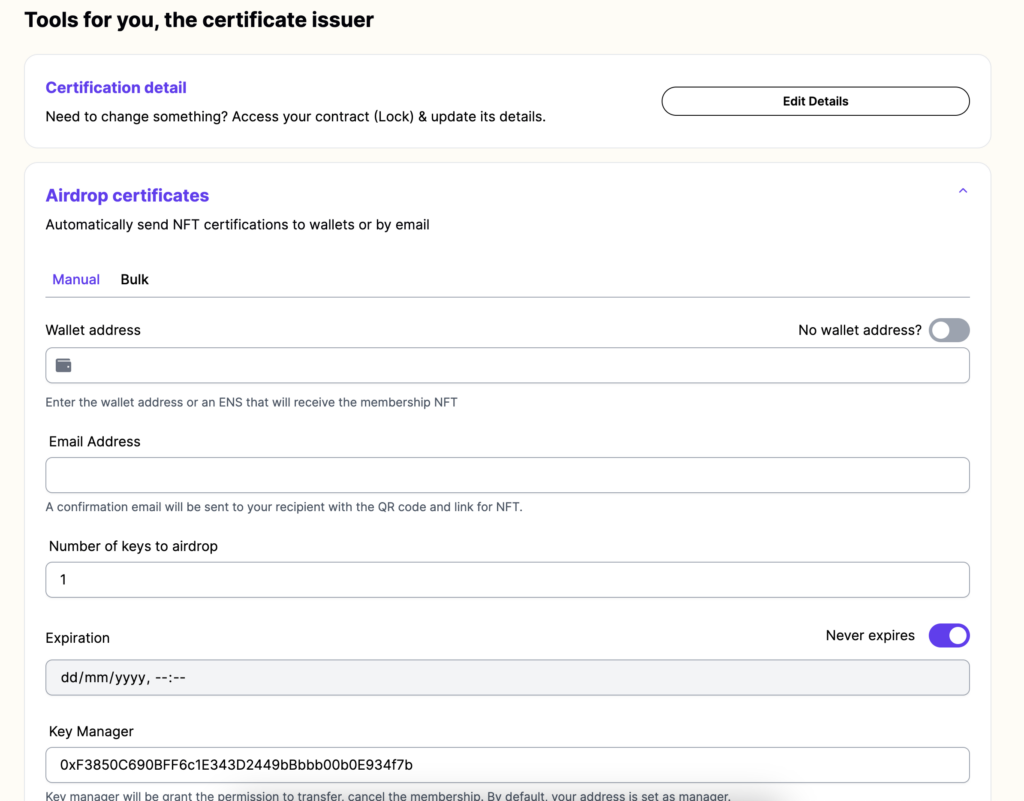
Airdrop certificates
On the certification page, you can now edit details and airdrop certificates to recipients. To do this, provide a wallet address, email address, and the number of keys to be dropped. You can also use just the email address if your recipients don’t have a wallet.
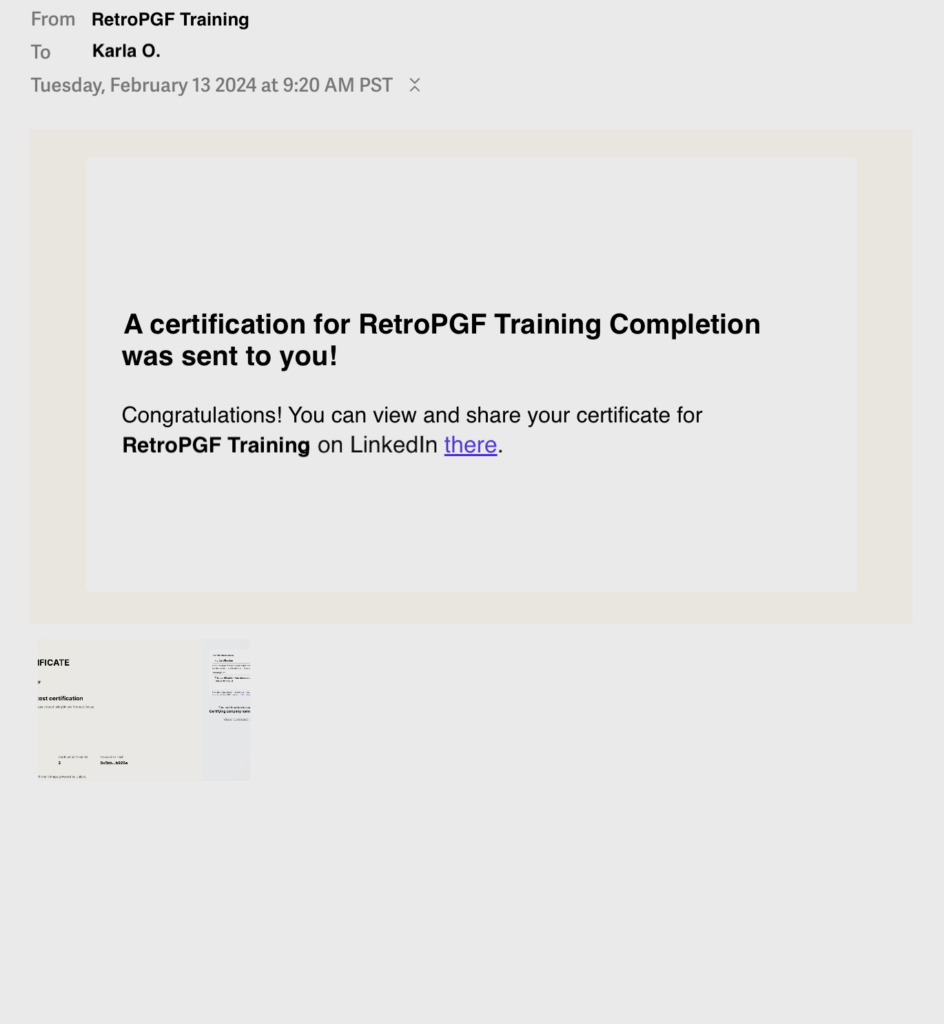
Notify recipients
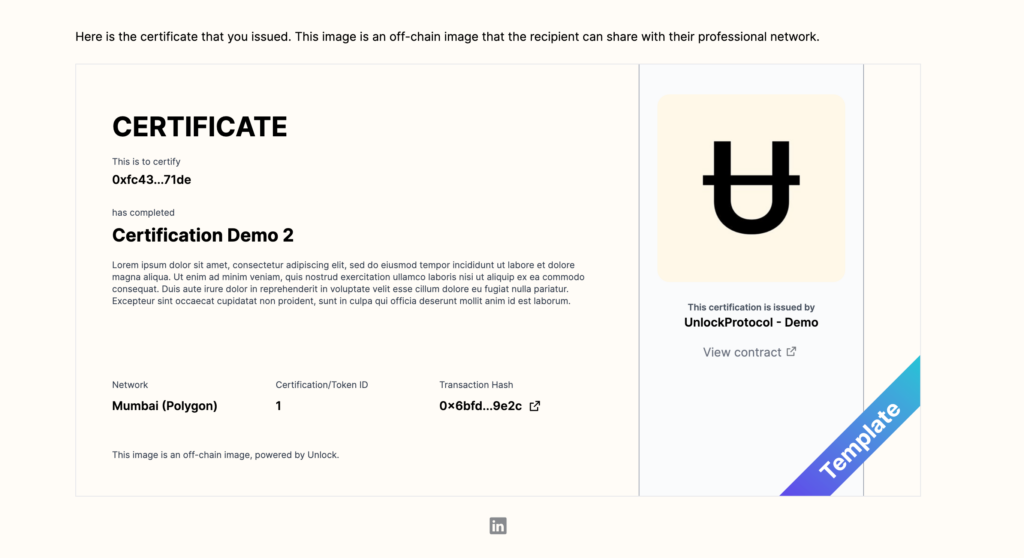
Upon receiving the certificate, recipients will get an email notification with links to view the certificate directly, along with a QR code and an attached image.
Share on LinkedIn
Unlock Protocol facilitates seamless sharing across various platforms for those certifications that are worth sharing and showcasing as professional or personal achievements. Our LinkedIn integration makes it easy and seamless to add a certification to your LinkedIn profile.
Each certificant receives an email notifying them of their achievement.
Clicking on the link in the email brings up the “Add license or certification to LinkedIn” form on LinkedIn itself.
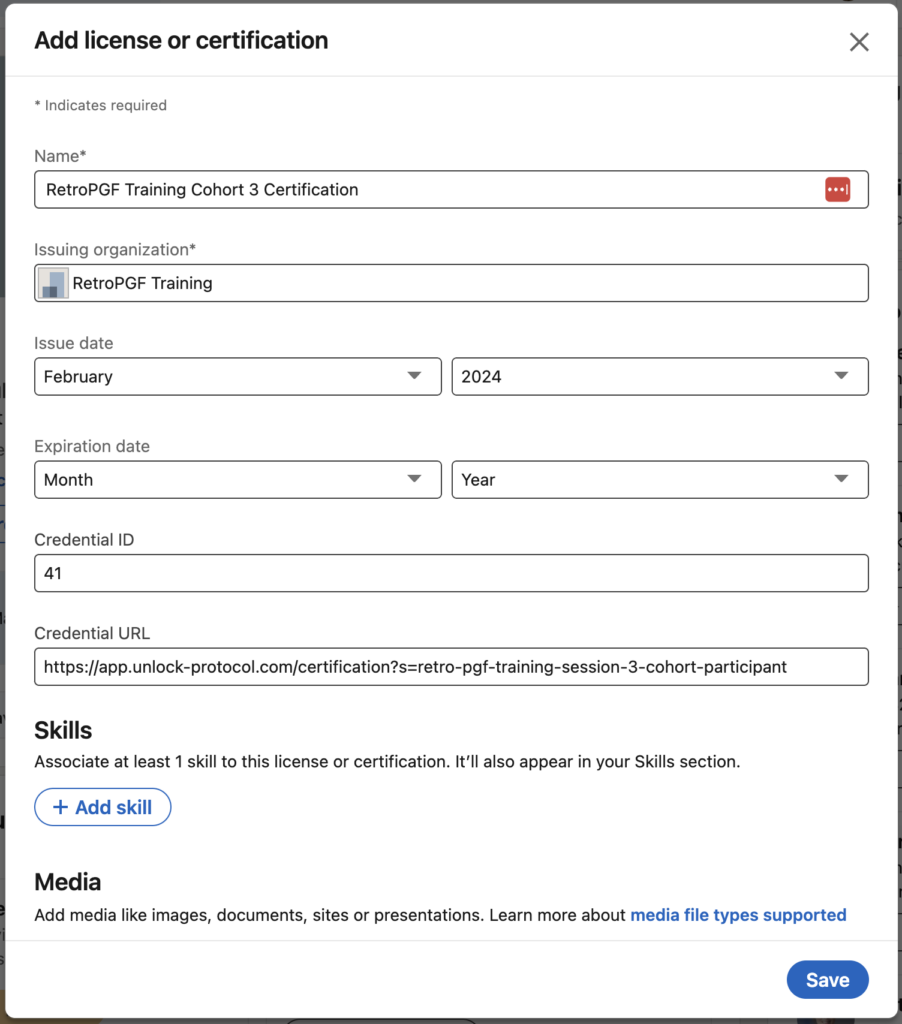
Upon saving the form, the certification is added to the recipient’s LinkedIn profile.
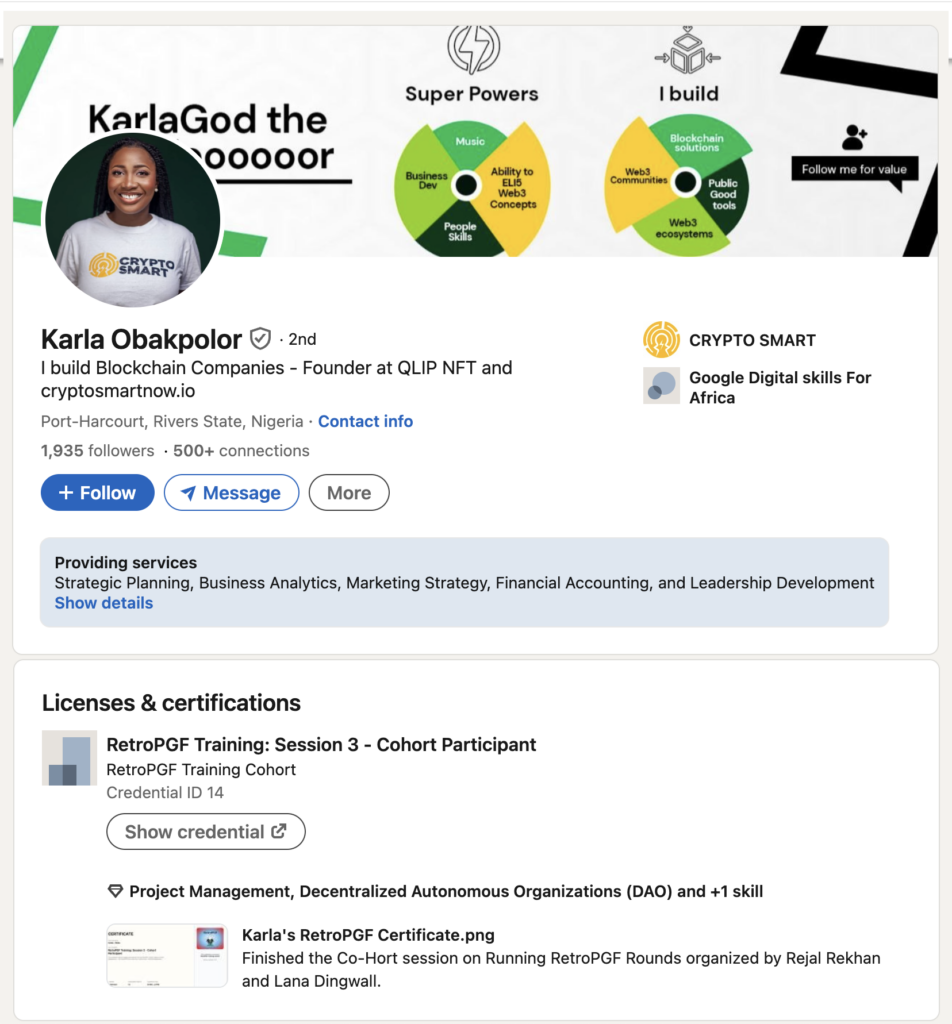
This achievement can, of course, be shared across LinkedIn or other social networks.

Visitors to a profile can view the certificate itself directly from LinkedIn.
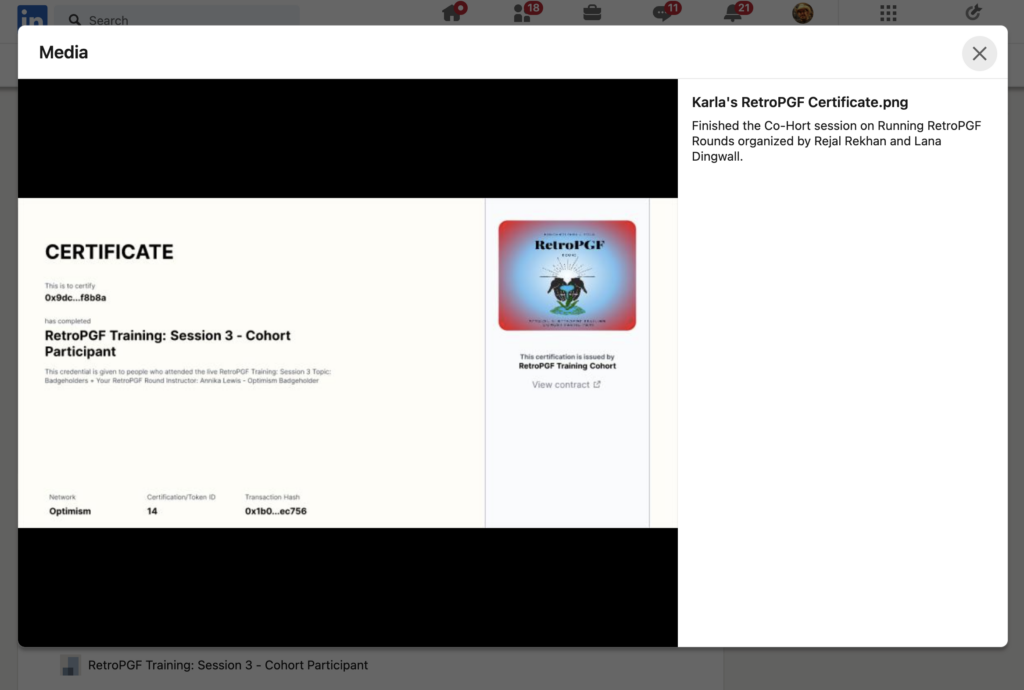
In this way, certifications become part of the individual’s online and onchain professional record.
That's it!
With Unlock Protocol, creating and issuing certifications and credentials has never been easier. By following these steps, you can harness the power of Unlock Protocol to create secure, verifiable, and customizable certifications or credentials for any purpose.
Want to see a video walkthrough? Here’s Michael who will show you how it’s done!


